Susan McLeary of Passionflower shares step-by-step instructions for making a cascading arrangement of colorful blossoms and succulents.
Susan’s Inspiration: I love experimenting and exploring new shapes. I also enjoy bringing techniques used for large-scale design to the tabletop, and vice versa. For this piece, I’m borrowing techniques to create oversized archways and shrinking it down for use in the home or for a special event.
I think this cascading bridge piece can be used in many settings: for an entryway, a sideboard, an escort card table, or, as pictured here, resting on a pair of side tables. I chose all my early spring favorites in a rich palette. Color is something I’m especially hungry for this time of year.
MATERIALS:
- Spirea
- Eucalyptus
- Lilac
- Fritillaria persica
- Fritillaria meleagris
- Hellebores
- Butterfly ranunculus
- Ranunculus
- Sweet peas
- Jasmine vine
- Echeveria
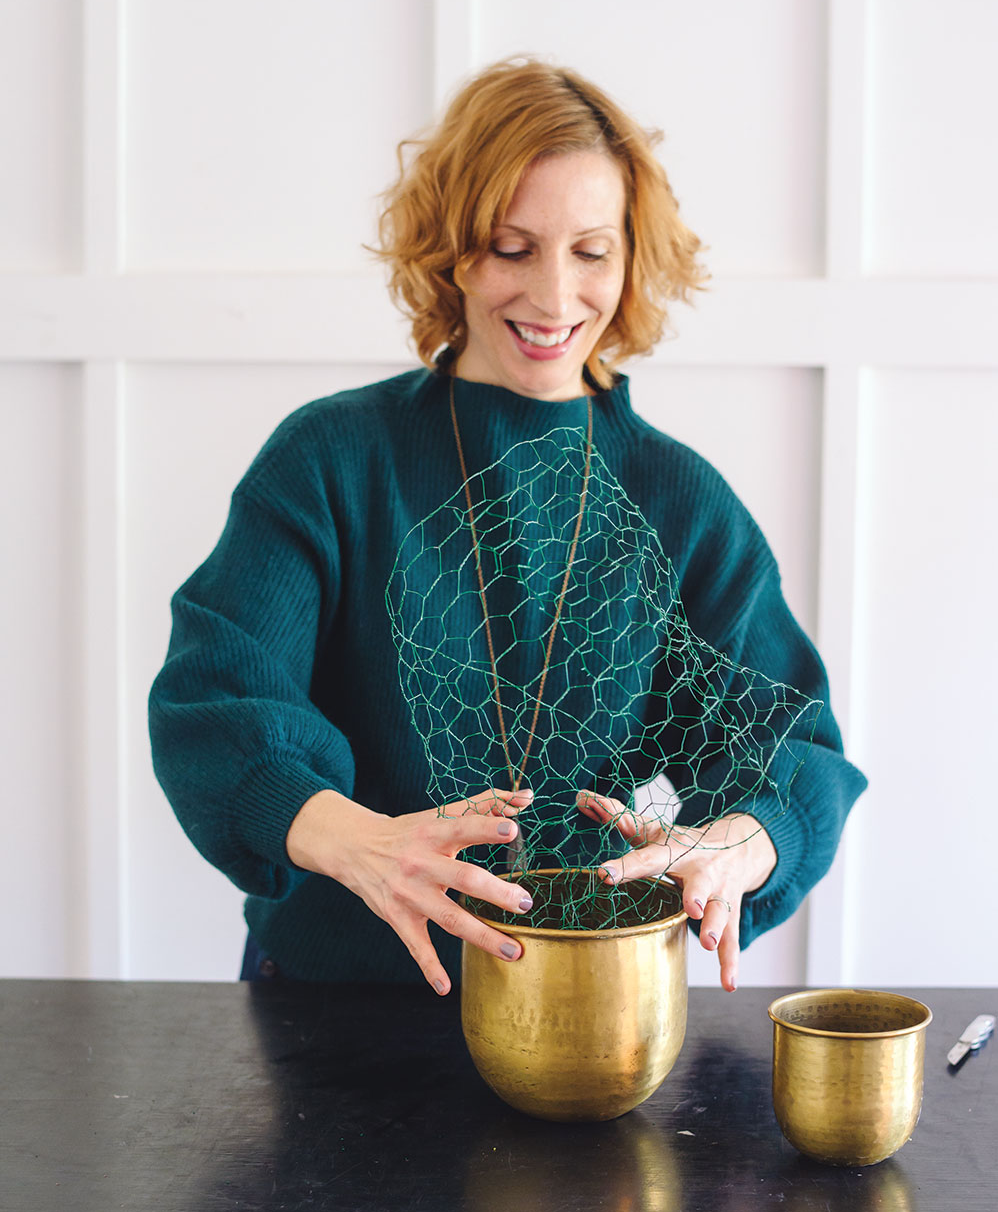
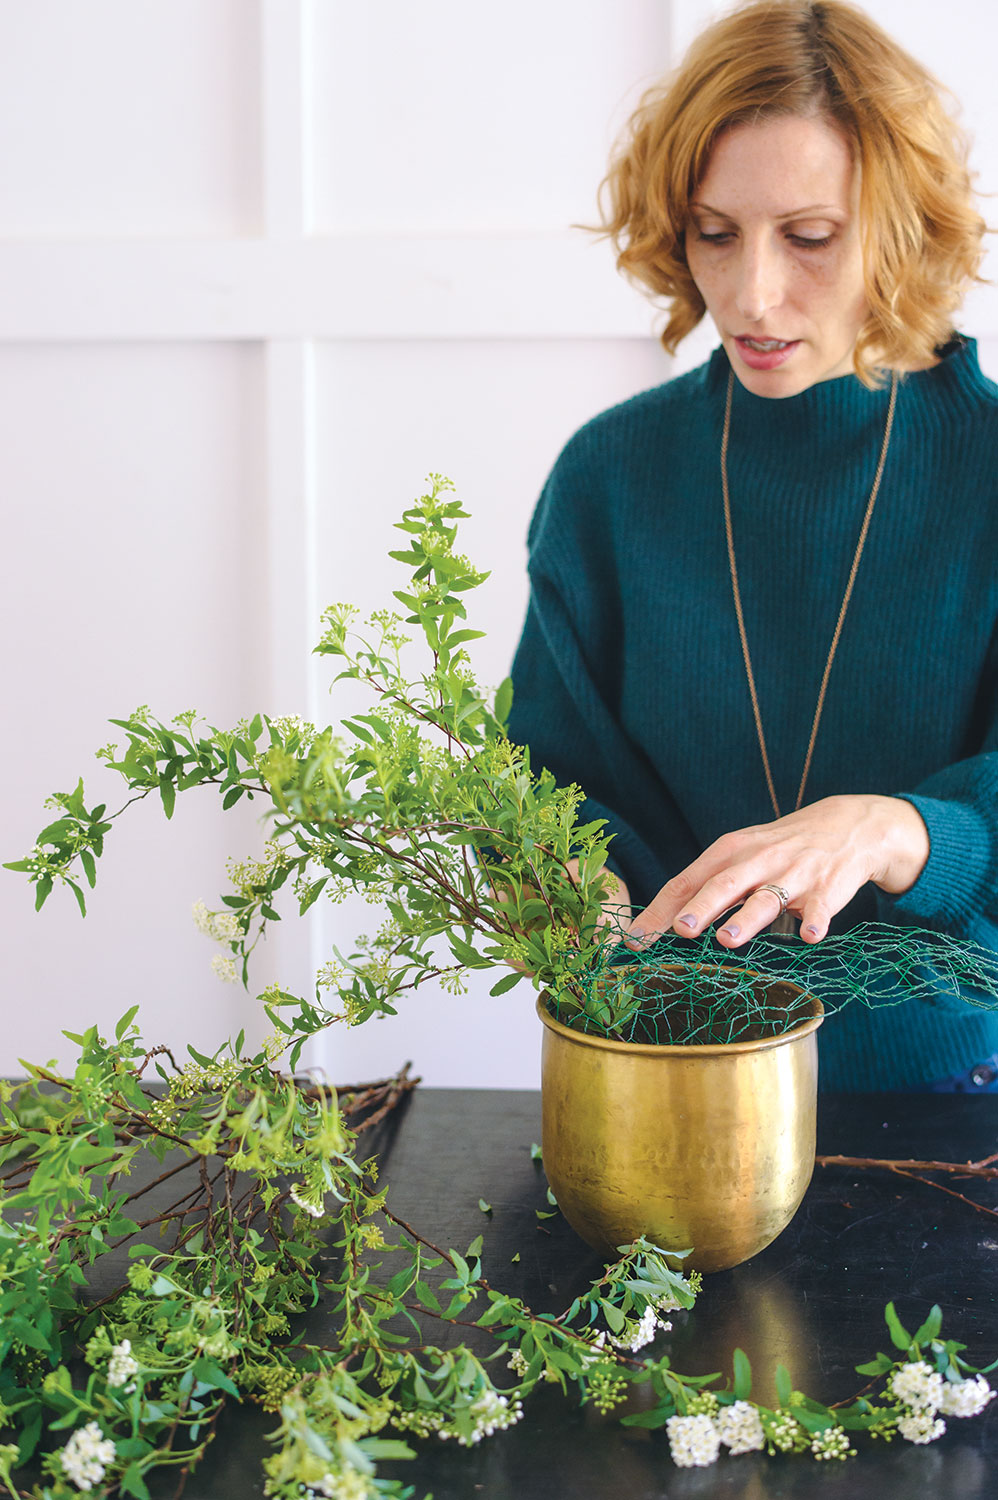
2 | Start the design by adding the sweeping spirea for definition and structure. To create an undulating, cascading design, let the spirea spill over the side of the large vase, and then add it throughout, allowing it to also spill out over the smaller container.
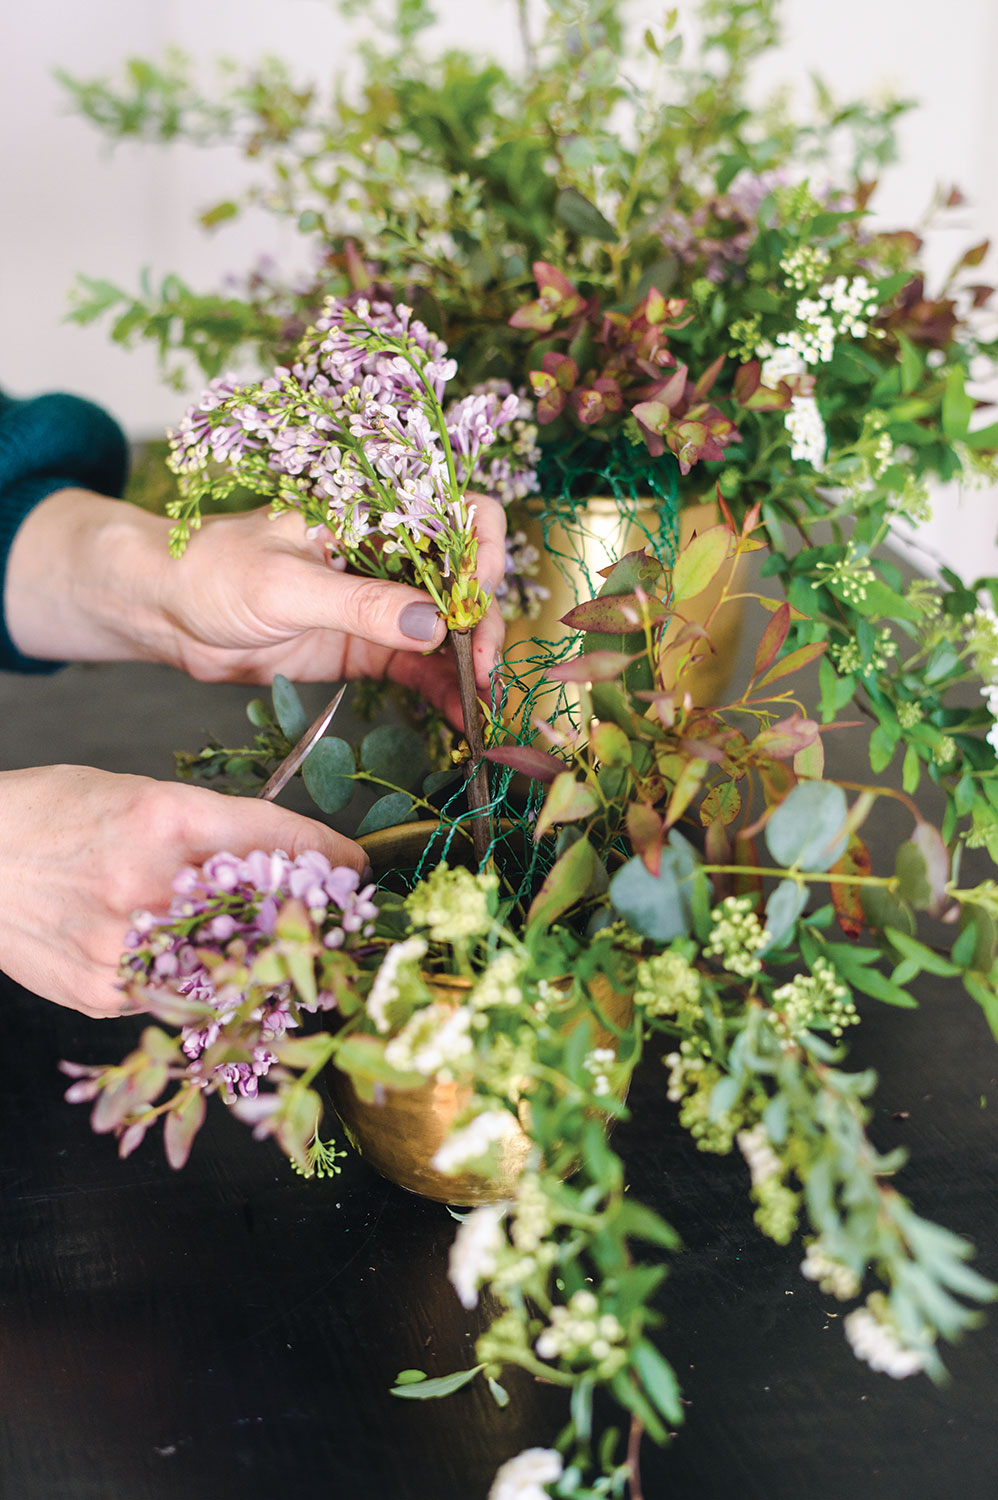
3 | Add in the eucalyptus to fill out the shape of the piece, following the shape created with the spirea. Next, add the lilac to provide color and fullness. Place it in a triangular shape in both vessels, allowing it to naturally spill over the edge.
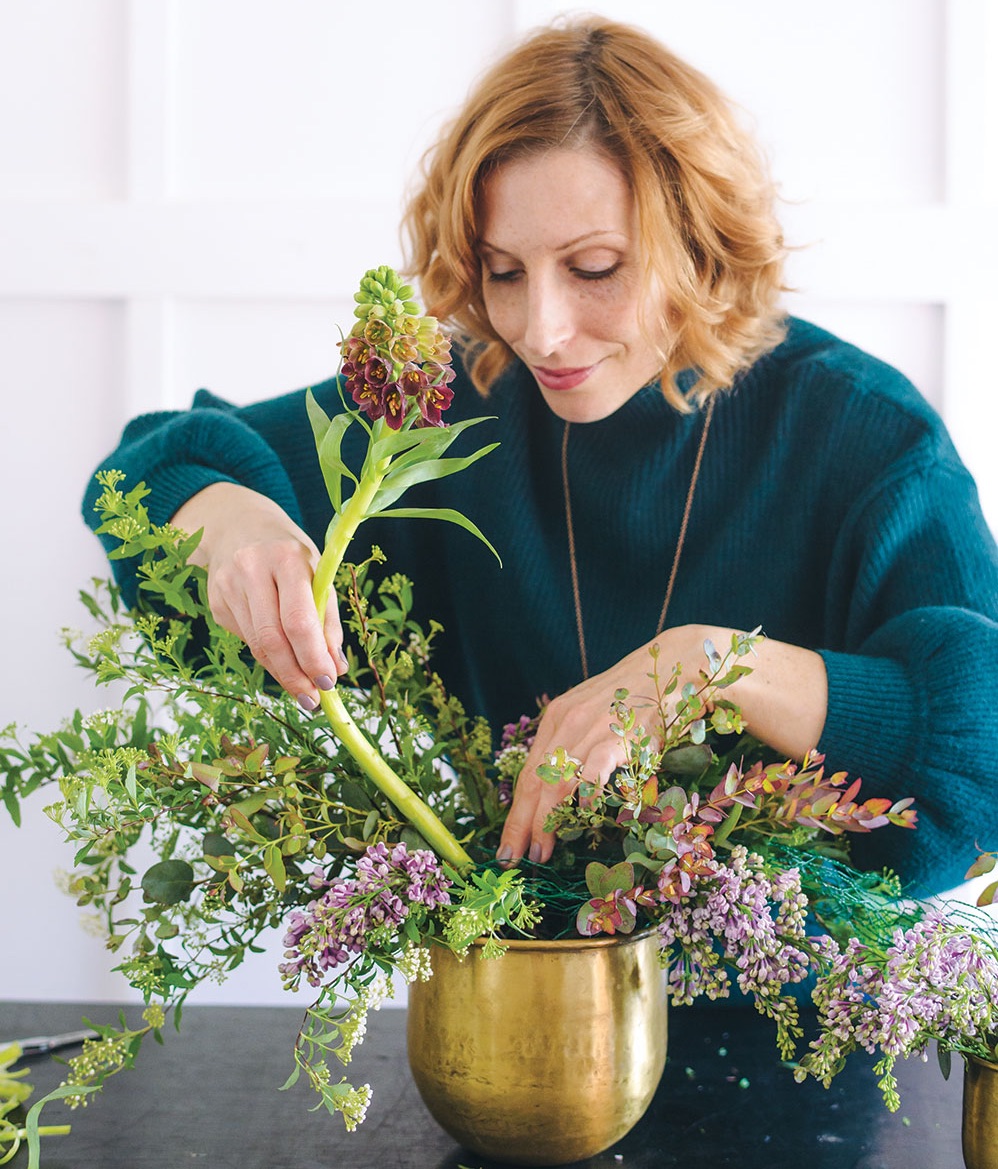
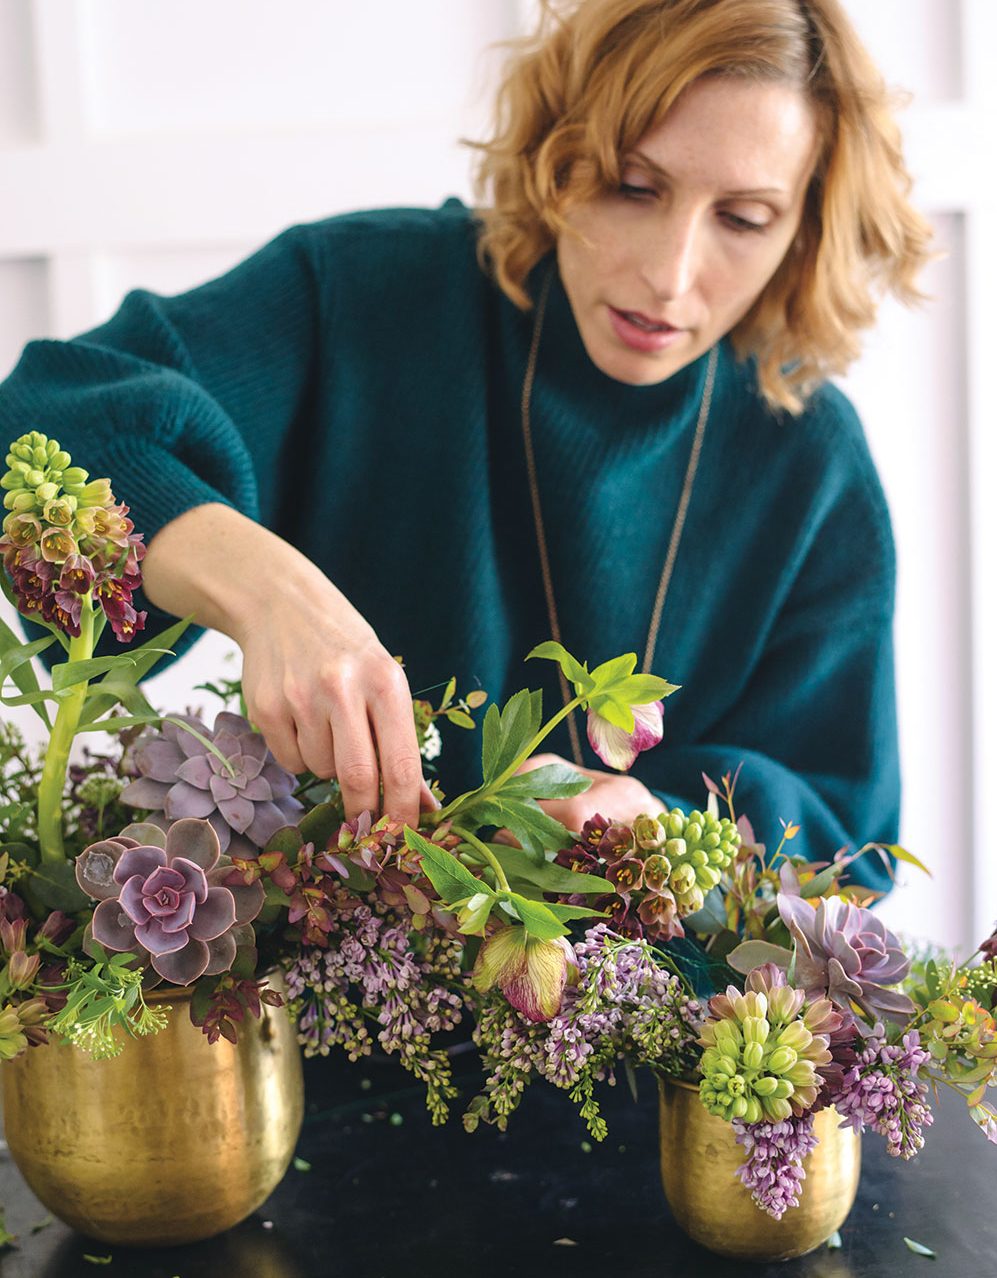
5 |The locally grown echeveria goes in next. Wire them from the top down, using a hairpin wiring technique, and secure the wire to the stem of each with floral tape. Tuck these in low. Add the hellebores, using them to build up the bridge, making U-shaped wires as needed to secure them. Keep in mind that the arrangement is meant to be viewed from all sides, so at this point, make sure to move around the arrangement when adding stems.
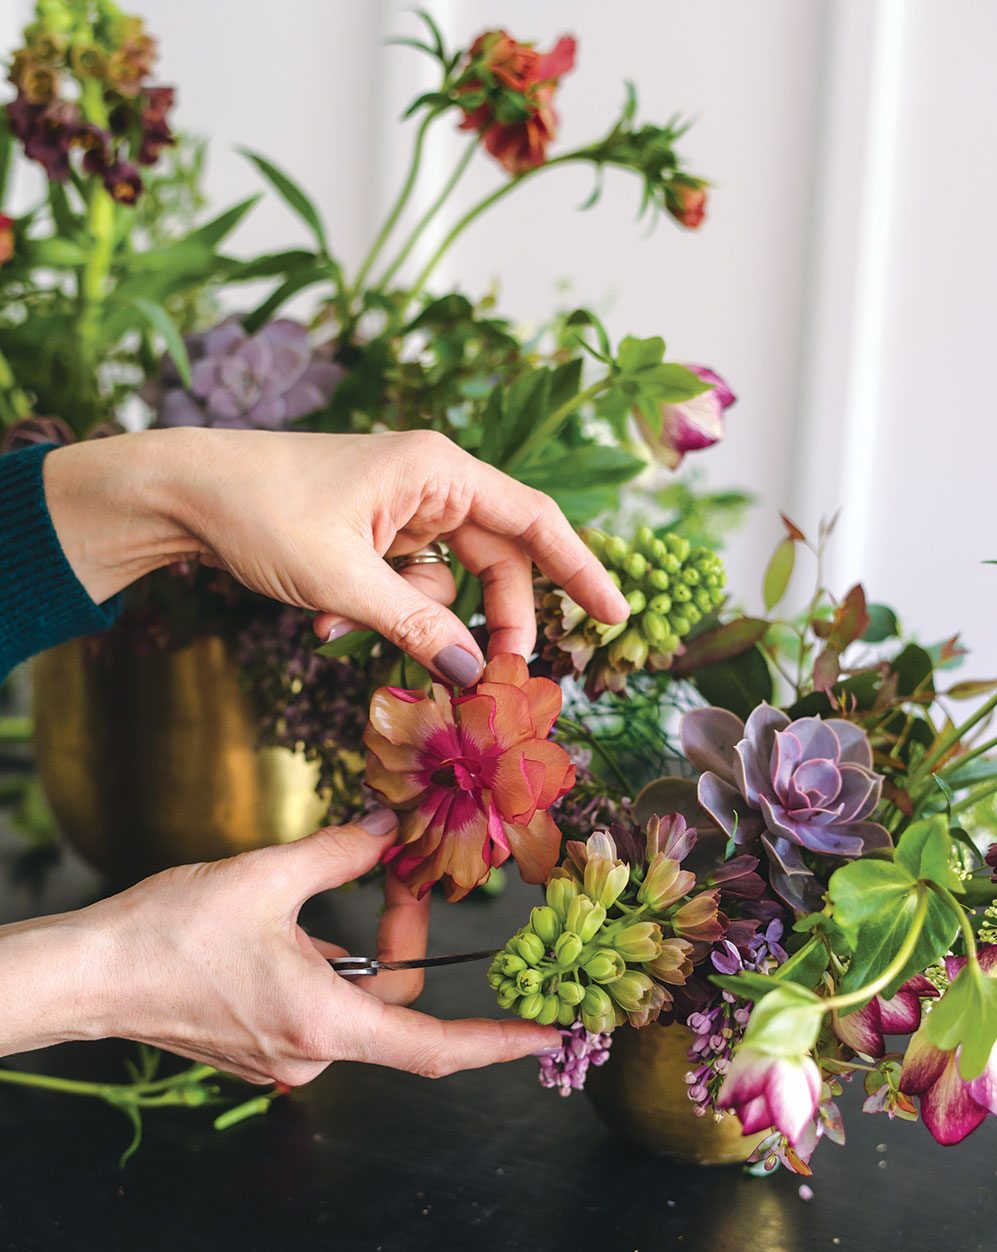
6 | The Butterfly ranunculus, with their coppery color and open faces, go in next. Allow these to fly high to show them off and to reinforce the lines of the piece. Add the stems so their faces point in different directions—some towards the sky, some straight towards the eye, and some off to the side. When adding height, make sure to leave a little empty space for the eye to rest. Continue by adding deep-plum ranunculus. Feel free to stroke the petals to open them up. Because of their dark color, place them low in the arrangements and off to the sides.
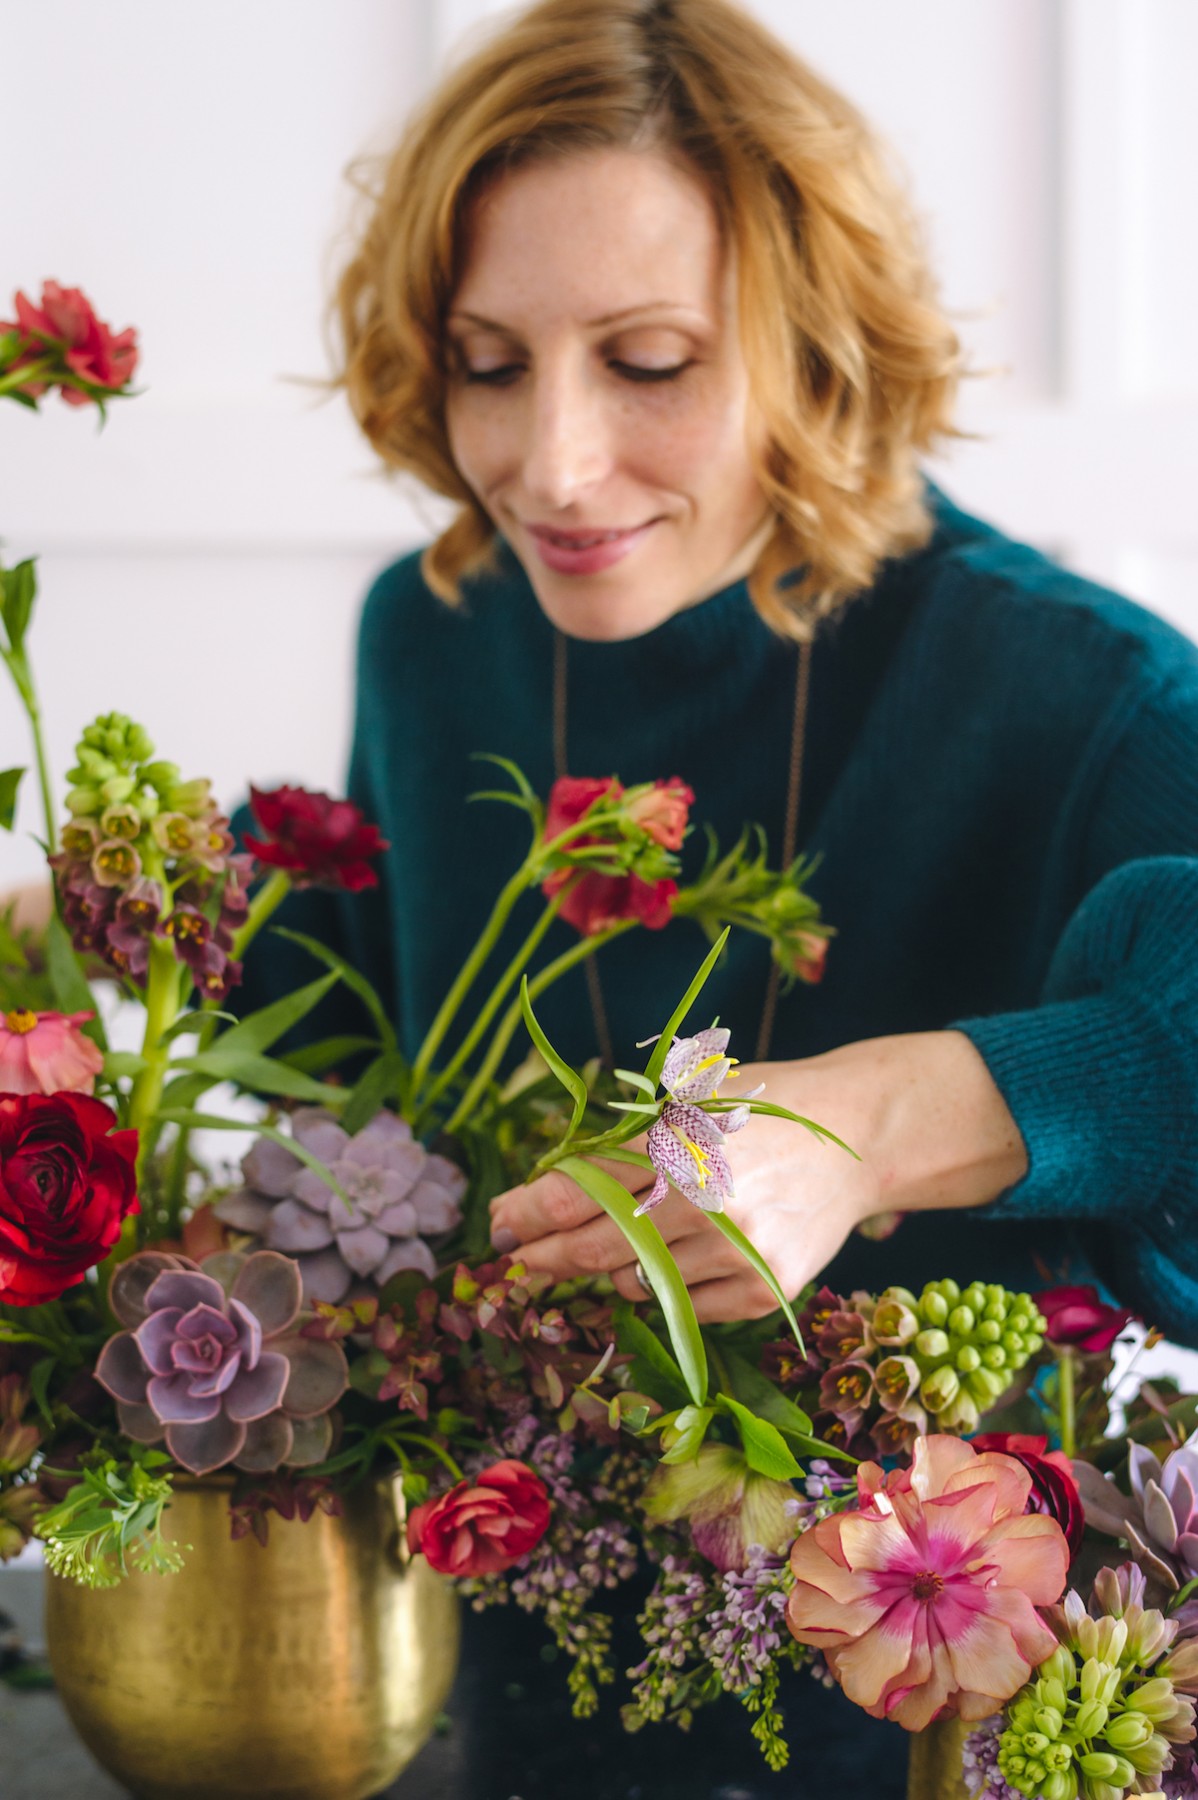
7 | Now that the shape has been clearly defined and the heavier blooms have been placed, it’s time to add the airy, finishing blooms—Fritillaria meleagris and sweet peas. The tone of the sweet peas speaks to the interesting coppery color in the Butterfly ranunculus. Start with the fritillaria, allowing them to nod downwards, showing off their lovely bell shape. Place the sweet peas next, using their full length to allow them to dance throughout the piece and to gracefully drape over the sides.
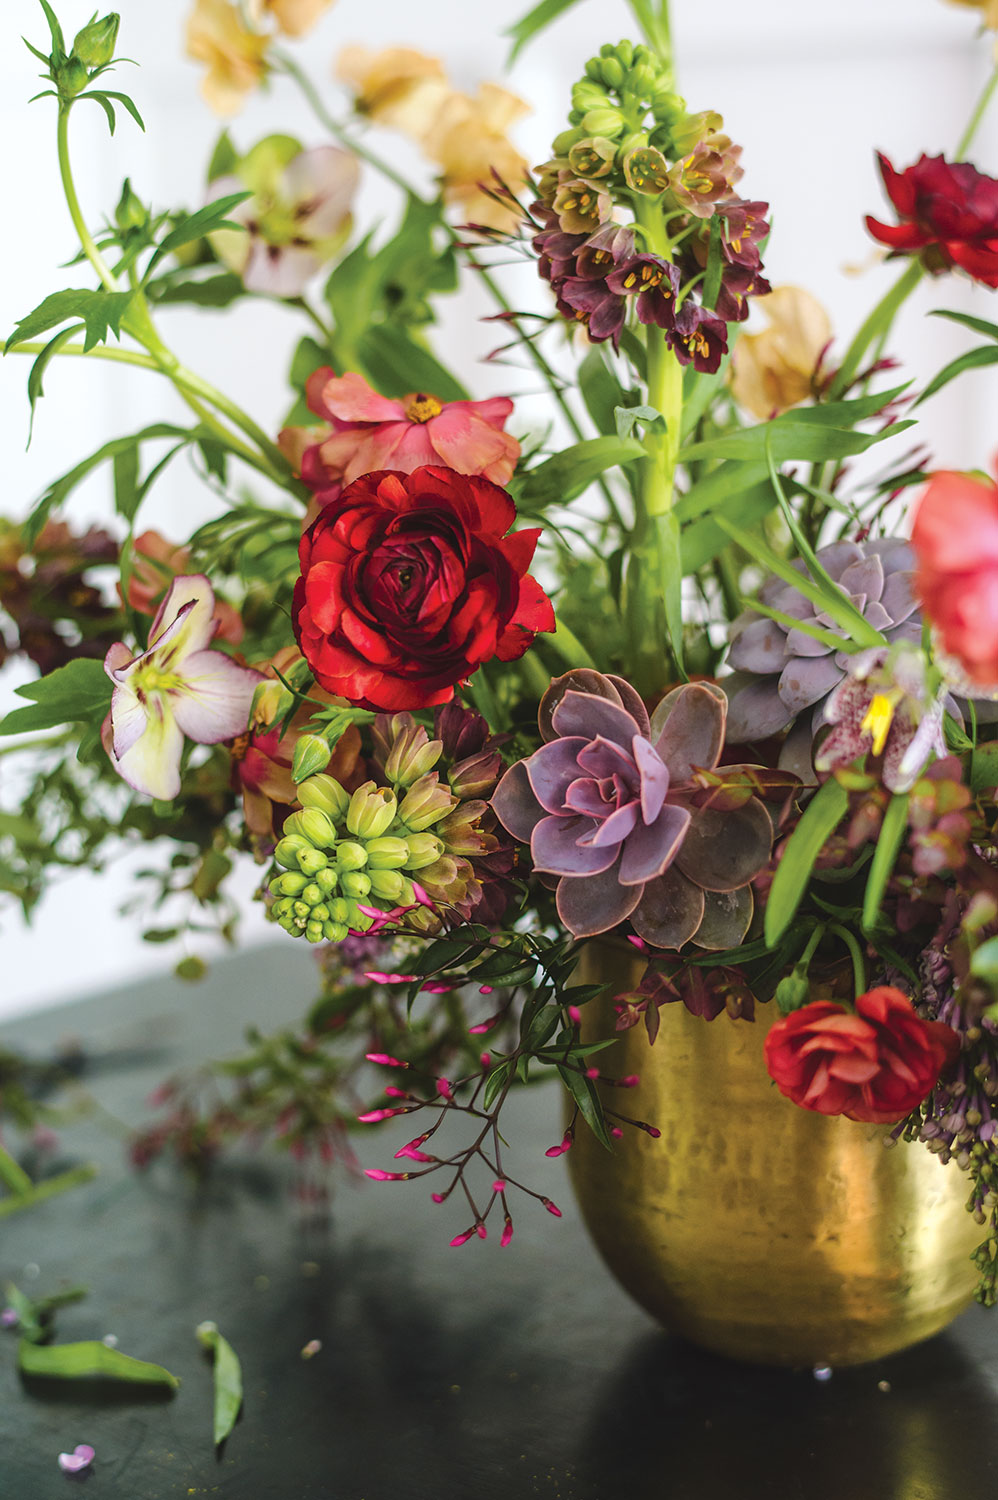
8 | Finally, add the lightest of the materials: jasmine. Feed the vines into the bridge structure to conceal the mesh. Add a few wispy pieces on both ends and trailing off the sides. To finish, walk around the arrangement and fill in any holes with leftover materials. Fluff and tweak the position of the flowers to create visual spaces and reinforce the waves.
— Susan McLeary
See more of Susan McLeary’s arrangements and follow her on Instagram@passionflowersue.


