MATERIALS
- Clippers
- Tole jardinière
- Chicken wire
- Floral tape
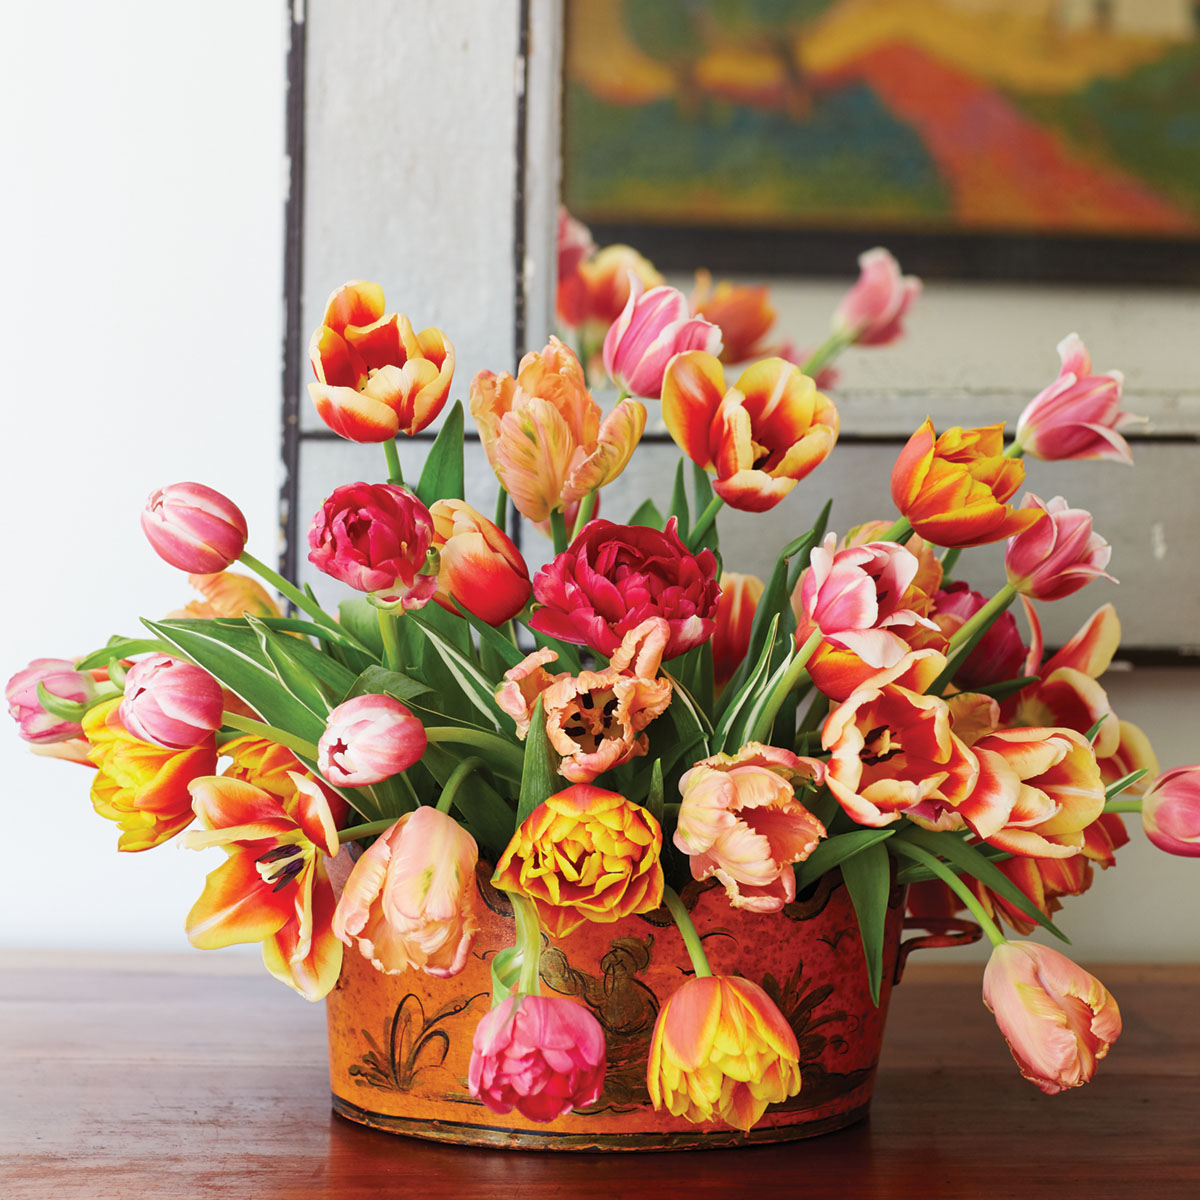
- A few varieties of tulips in oranges, peaches, and pinks
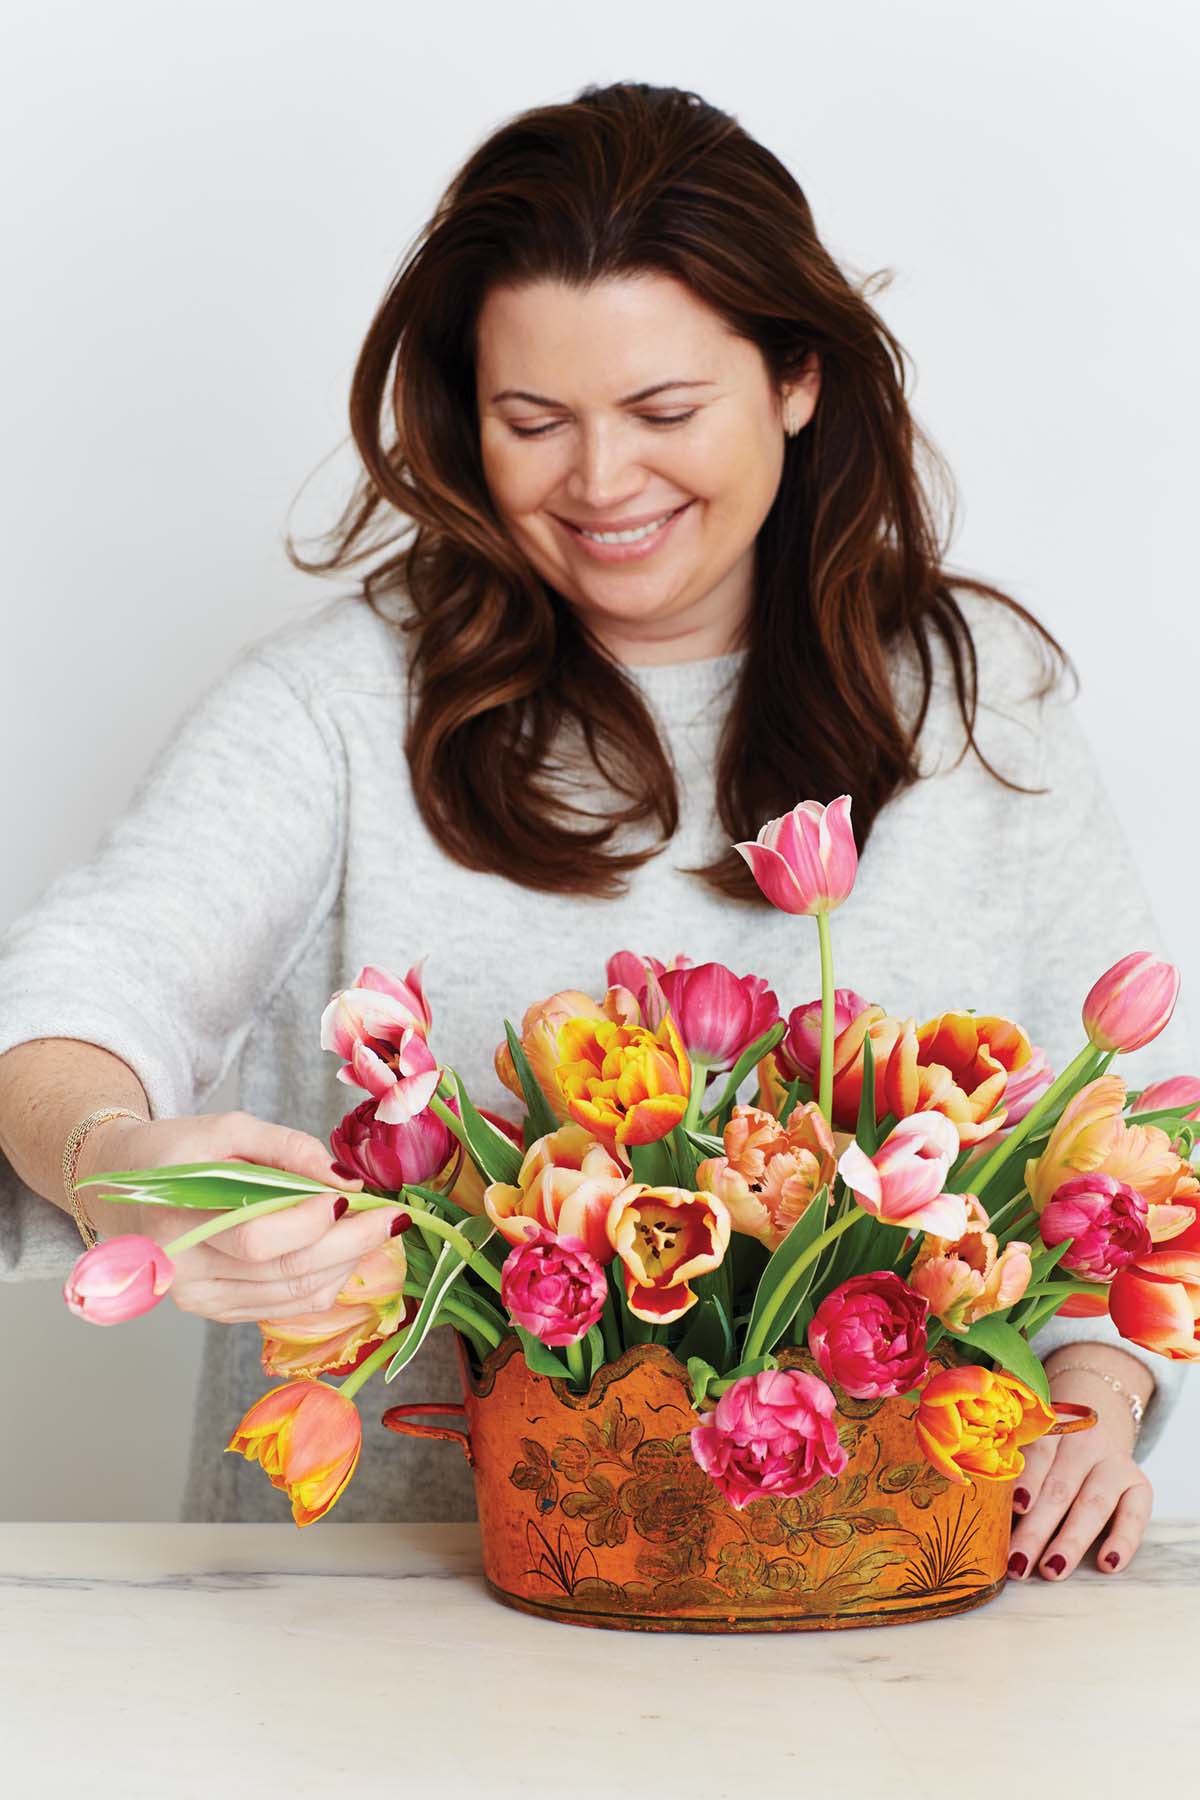
Mimi Brown demonstrates how to make this tulip arrangement below.
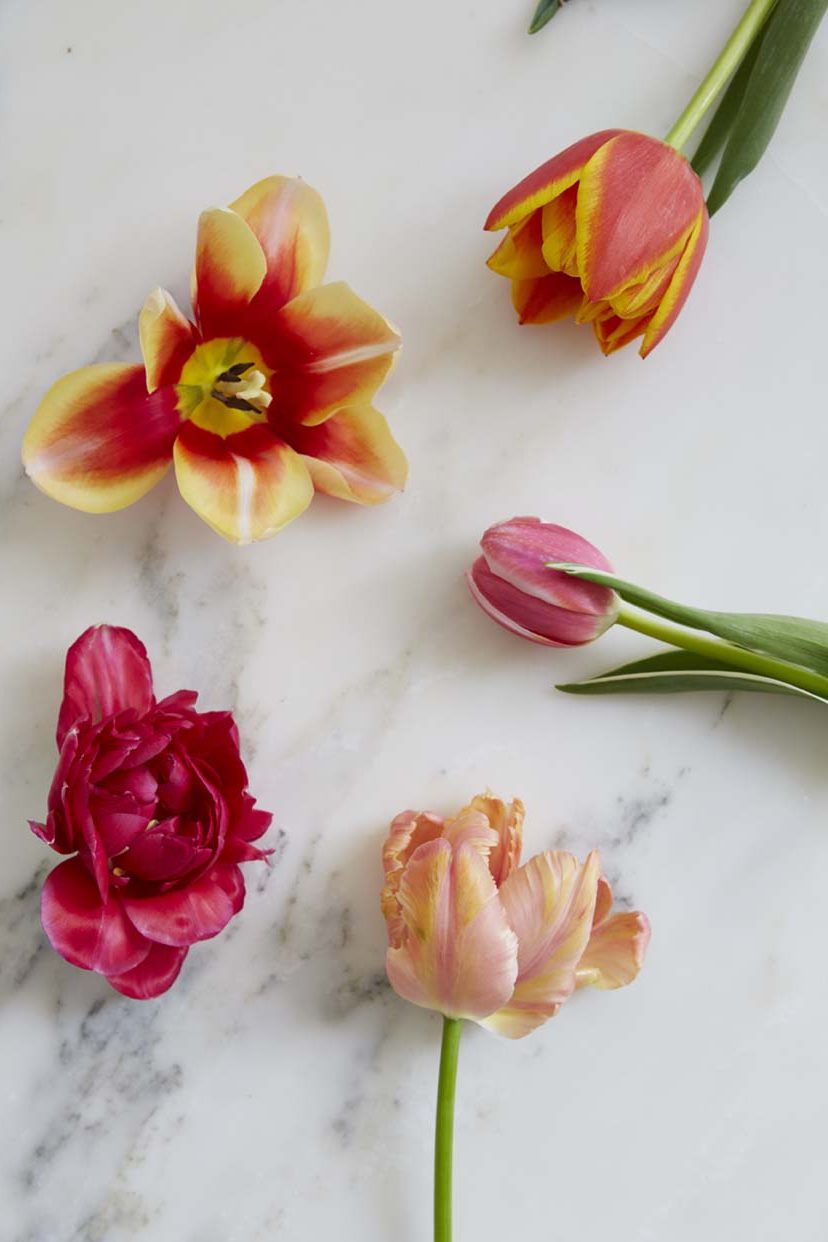
Clockwise from top left: residence tulip, crossfire tulip, Jan Buis tulip, apricot parrot tulip, and cerise parrot tulip
TULIP ARRANGEMENT TUTORIAL WITH MIMI BROWN
STEP 1
STEP 2
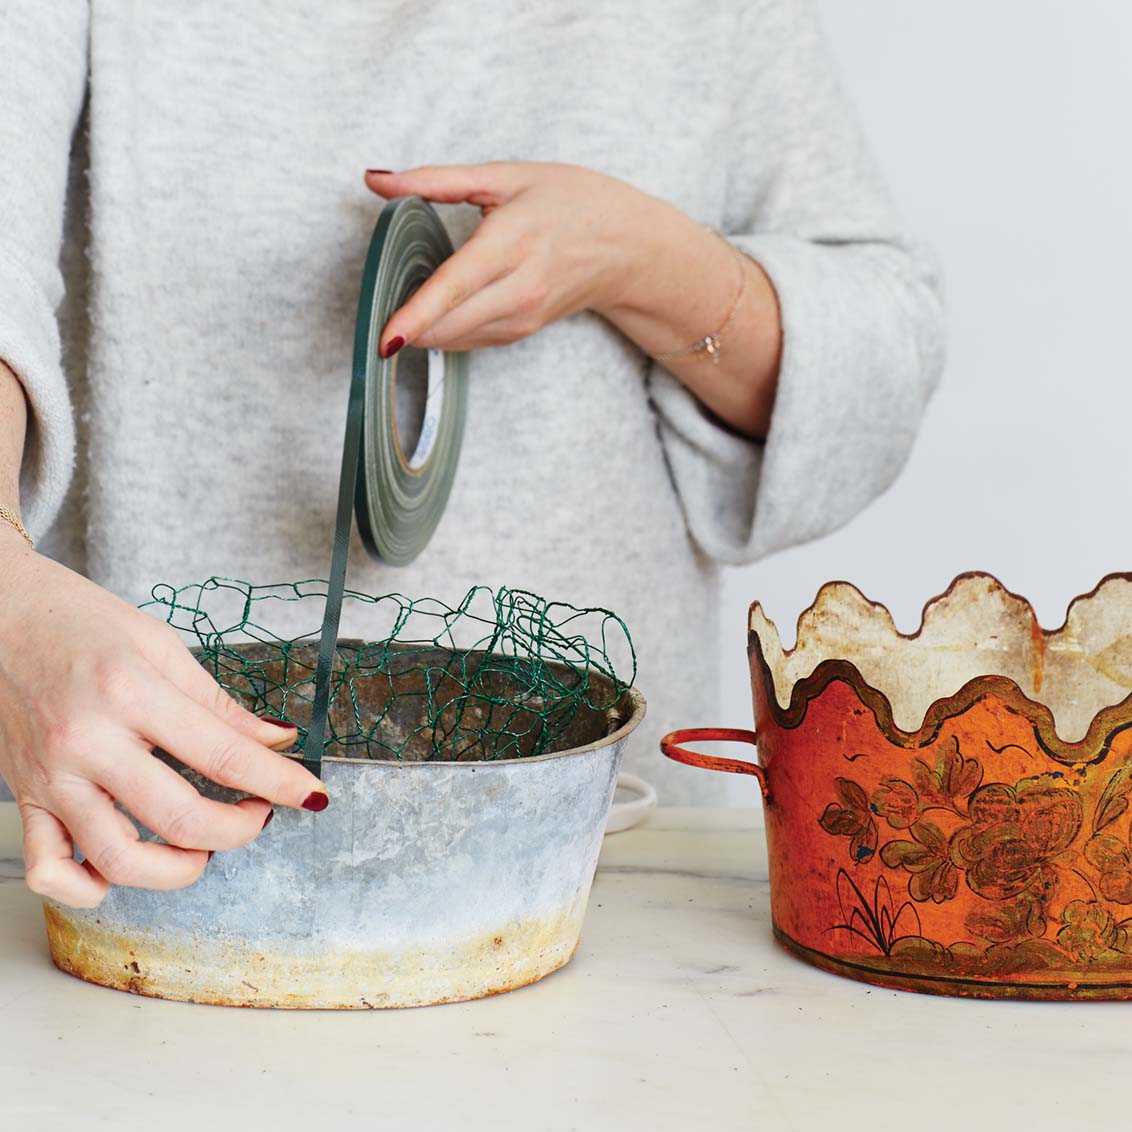
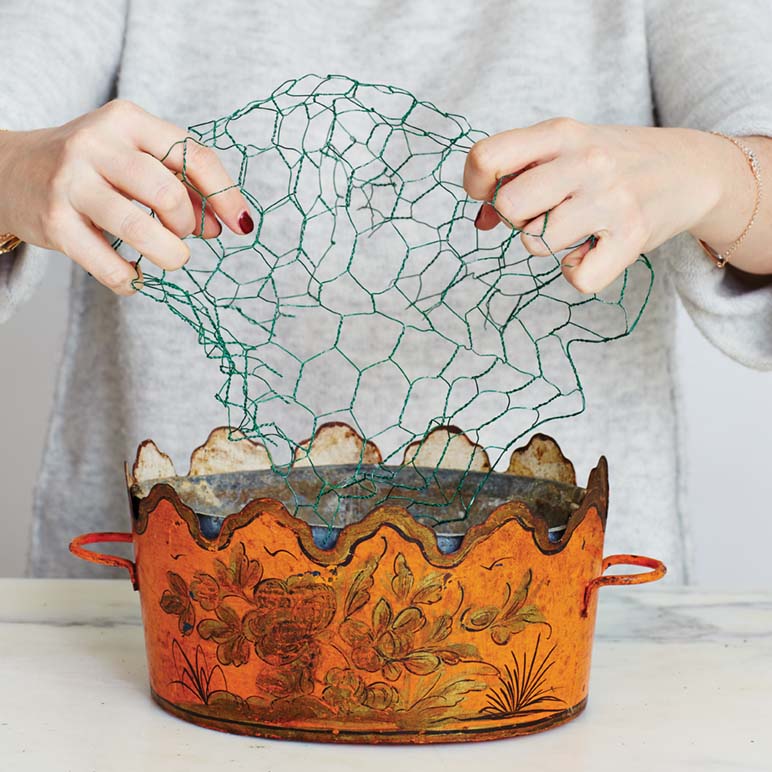
Once the chicken wire is placed inside, remove the metal liner that comes with the cachepot. Then secure the wire to the liner by taping two strips of floral tape over it in a cross shape. The liner needs to be completely dry in order for the tape to stick, so don’t pour any water into the liner until this step is completed.
STEP 3
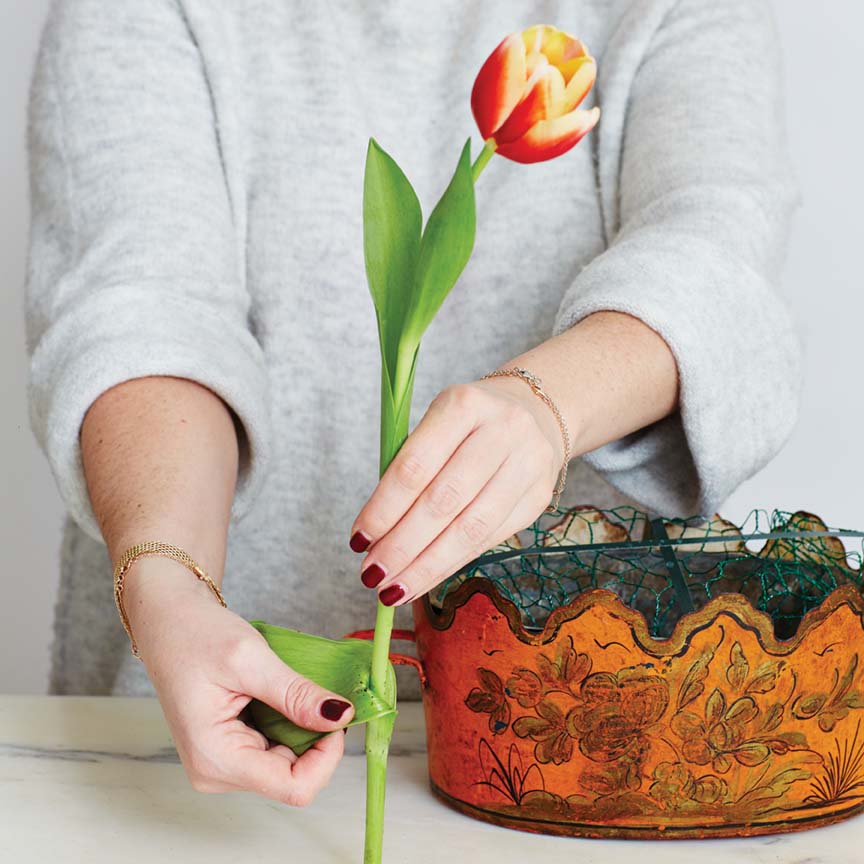
Now it’s time to add the tulips, but first each one should be stripped of its outermost leaves. After picking up each tulip, gently peel down and pull off the leaves—this is strictly an aesthetic decision, so leave as many leaves on the stems as you like. (As I like to see some of the shape of each stem, I remove most of the leaves.) Do this as you work—not all at once. Be sure, though, to leave some of the leaves on the tulip stems because we are not adding other greenery. Then snip the end of each tulip at an angle.
STEP 4
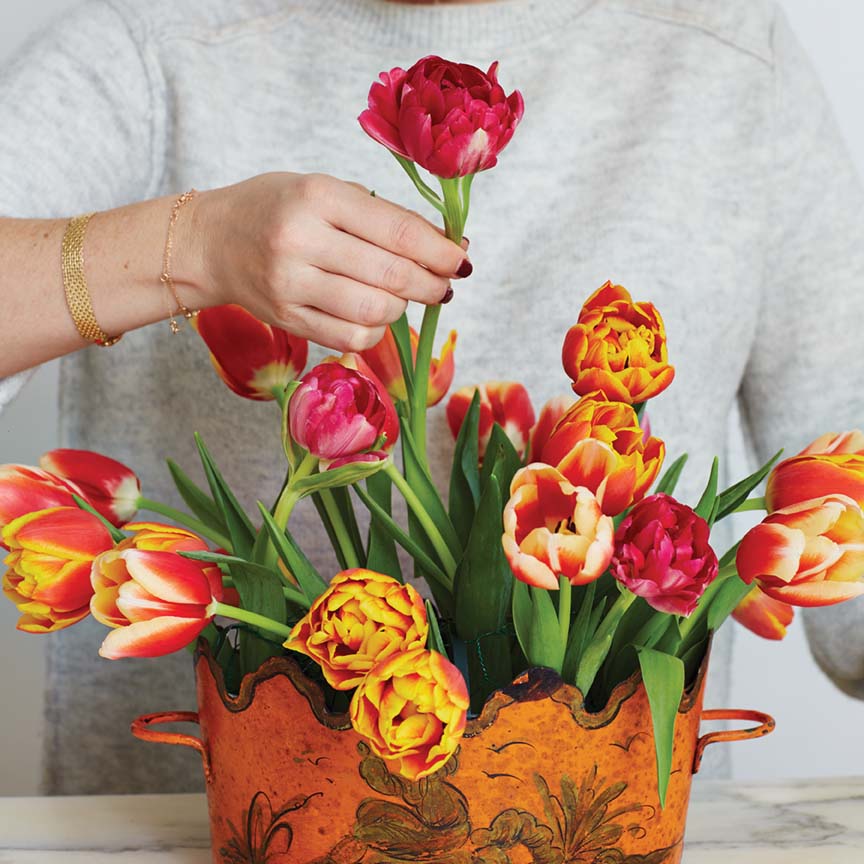
I’ve chosen a mix of oranges, peaches, and pinks, and I prefer to place all of one variety before moving on to the next. Note that all of the tulips should be pretty much the same height except for a few that can be cut shorter or kept taller for variety. After placing the orange and peachy varieties, it’s time for the deep pinks, which are double tulips.
STEP 5
STEP 6

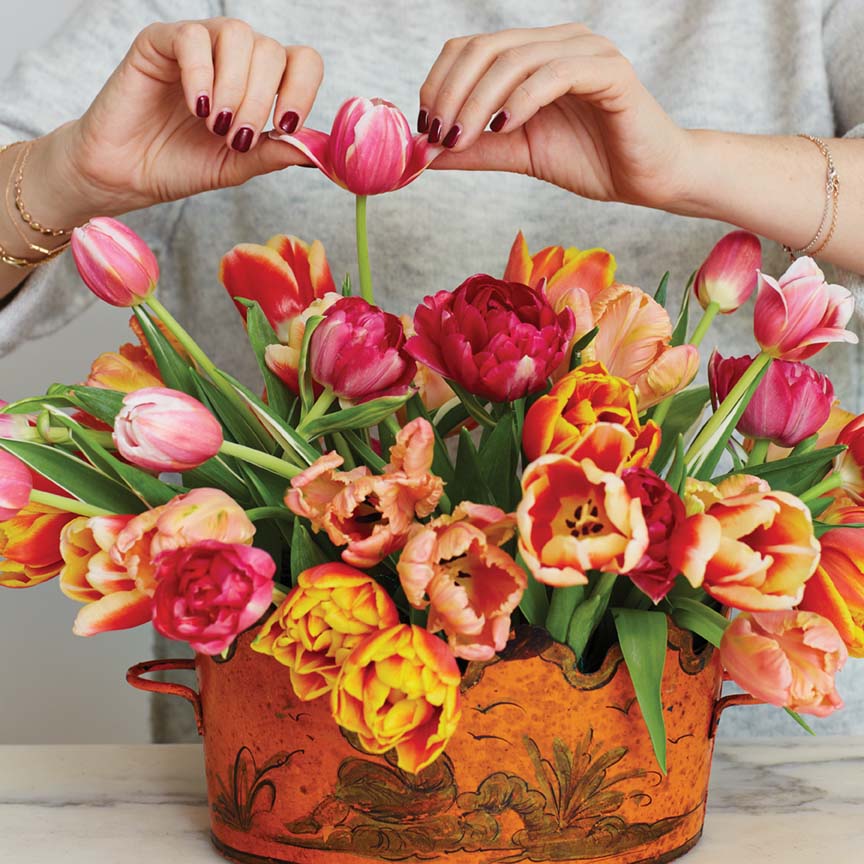
Sometimes the tulips will fall as you go, and that’s fine. Let some droop, but remove them if they look tired and then keep arranging as you see fit. In the end, the tulips should look as though they’re naturally growing out of the container. And remember to place a few around the perimeter. It’s important to make sure no chicken wire is visible.
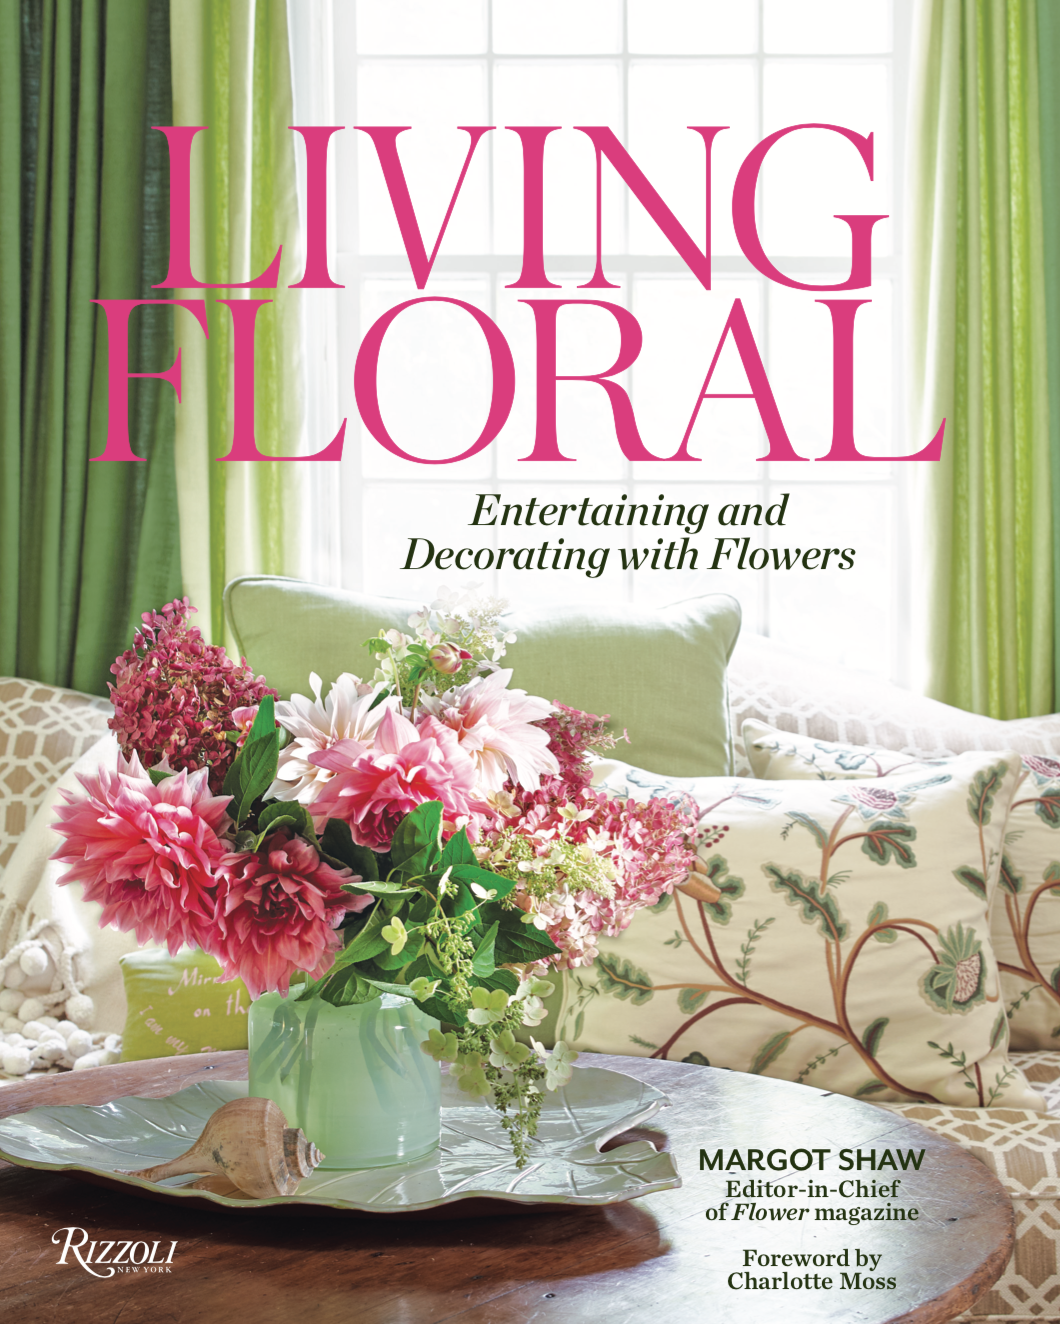
By Mimi Brown | Photography by Becky Luigart-Stayner | Excerpted from Living Floral: Entertaining and Decorating with Flowers by Margot Shaw (Rizzoli, 2019)


