Photo by Patricia Lyons
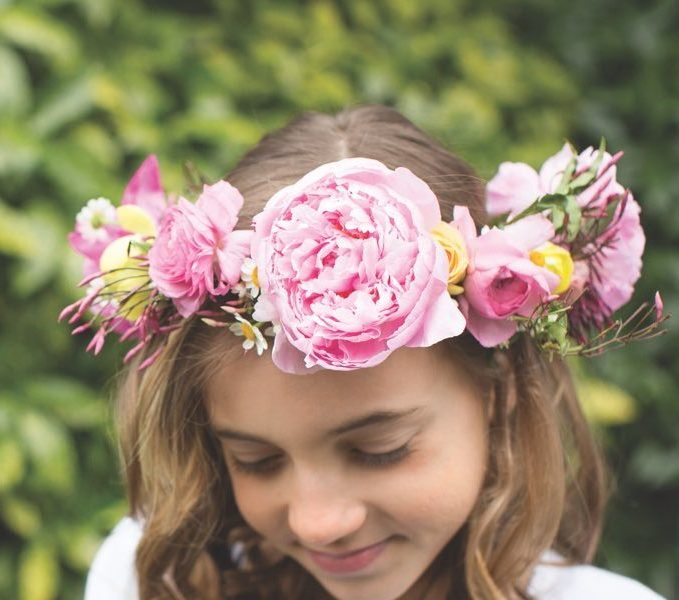
Janie Medley of JMFlora Design in Richmond, shows how to make a flower crown, a fun, frilly circlet of blossoms, with step-by-step instructions.
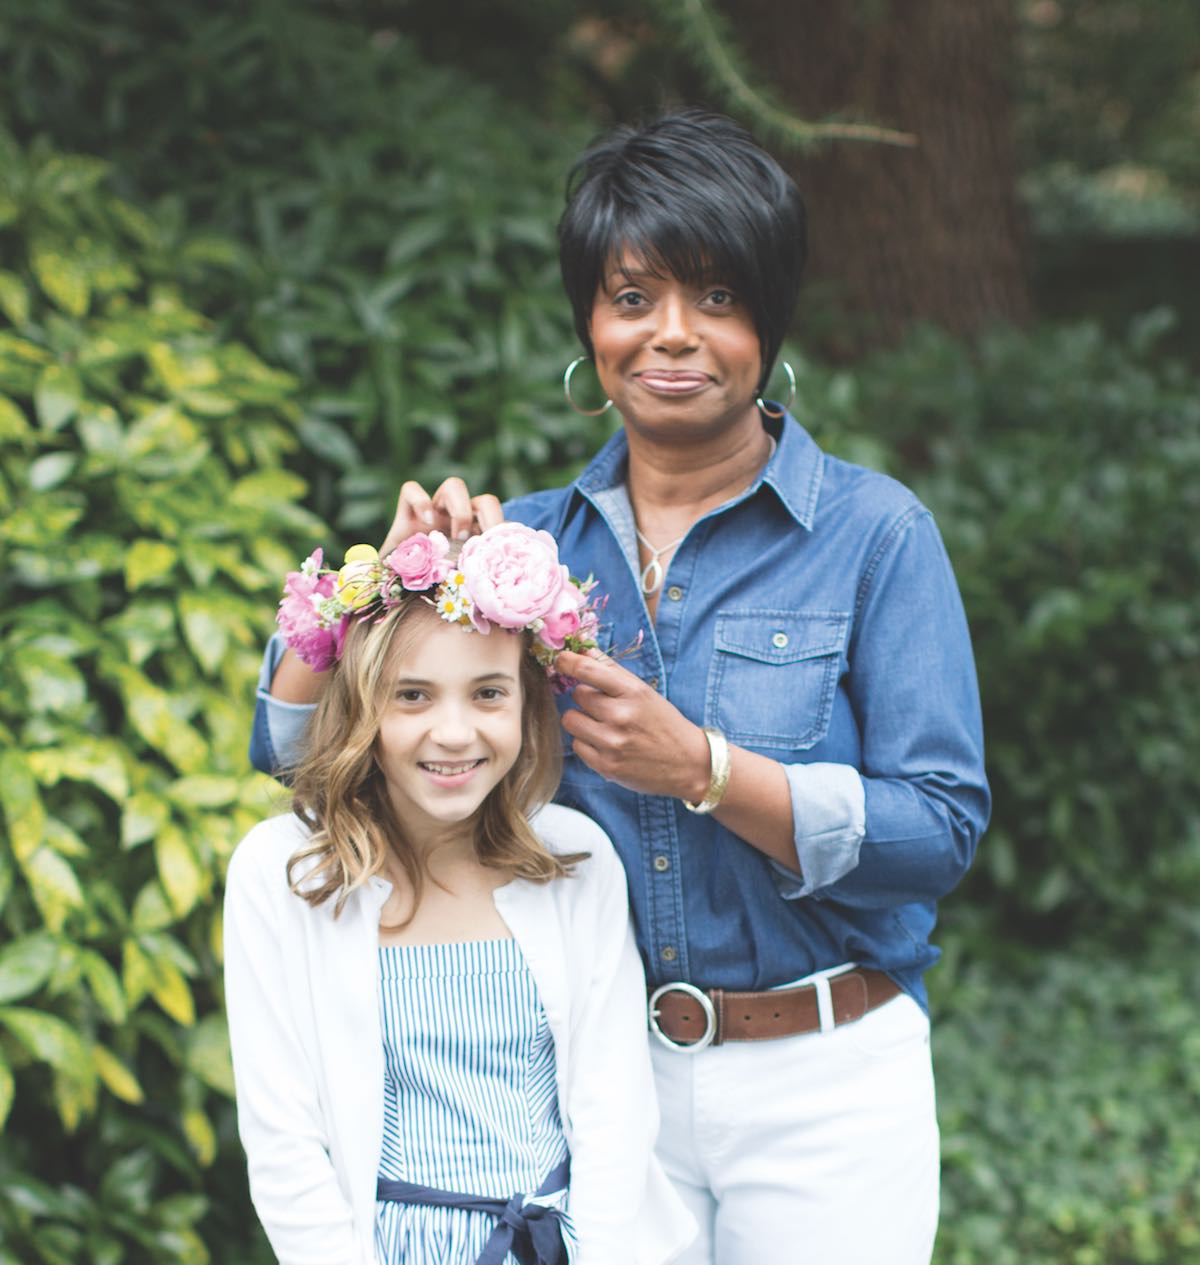
Janie Medley of JMFlora Design in Richmond, shows how to make a flower crown, a fun, frilly circlet of blossoms, with step-by-step instructions.
—Janie Medley
MATERIALS FOR THE FLOWER CROWN
-
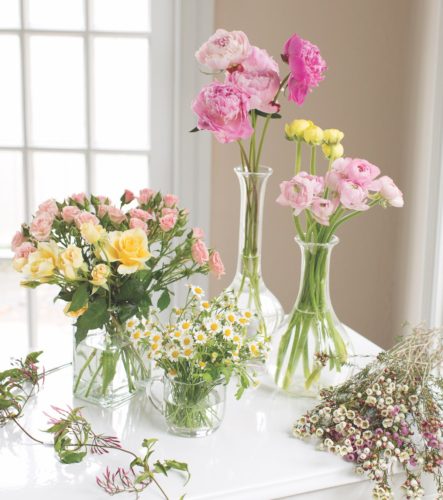
- pink peonies
- pink ranunculus
- yellow ranunculus
- waxflowers
- pink spray roses
- yellow spray roses
- feverfew
- jasmine vine
TOOLS & SUPPLIES
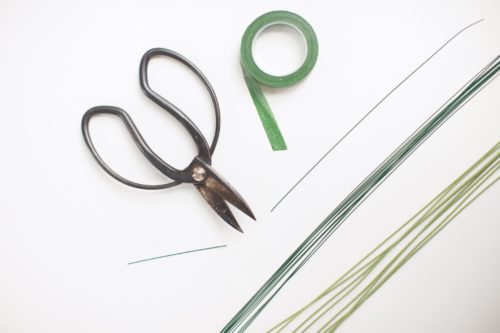
- floral snips
- floral tape
- fine-gauge floral wire, cut into 5-inch lengths
- floral cloth wire
HOW TO MAKE A FLOWER CROWN
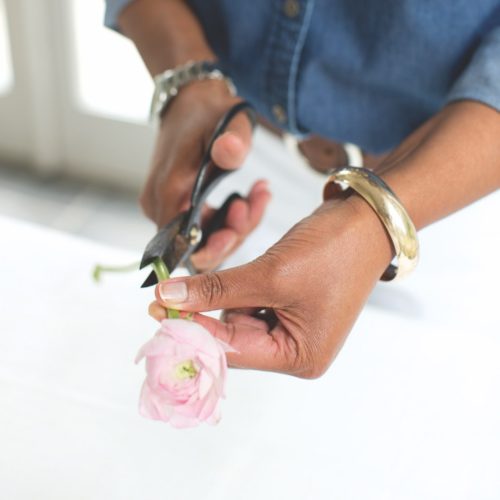
1| Cut each ranunculus stem down to about one inch.
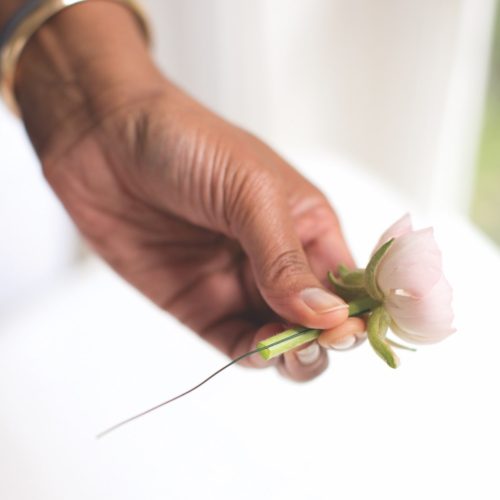
2| Place a 5-inch piece of the fine-gauge floral wire along the side of each stem.
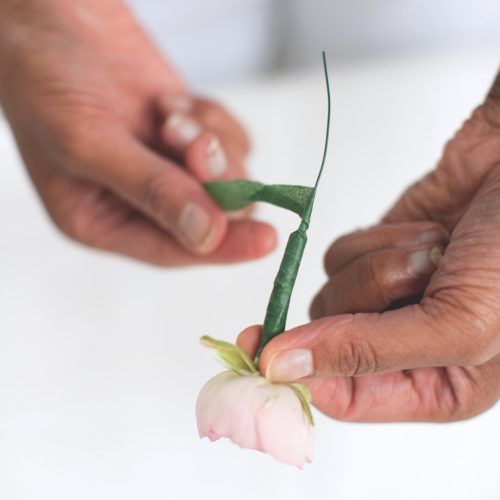
3| Starting at the top of each stem, completely wrap the wire and stem with the floral tape.
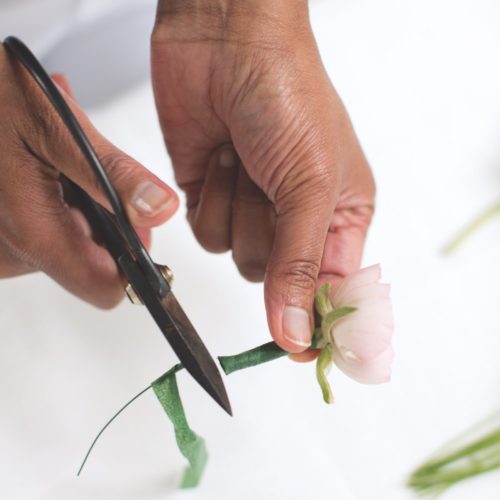
4| Cut the excess wire from the wrapped stem. Then prep the peonies the same way.
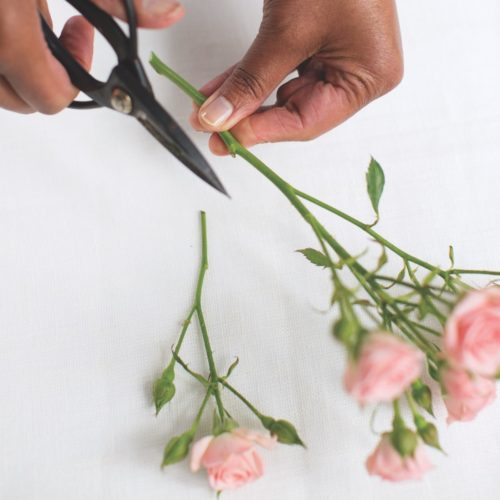
5| For the spray roses, cut off the individual stems and repeat the steps above with the fine-gauge floral wire and tape.
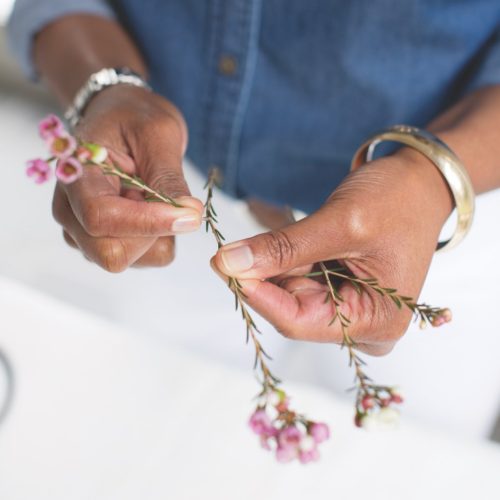
6| Separate the waxflowers into single stems, and gather four or five stems to form a small bunch. There’s no need to wire the stems—just tape them tightly together.
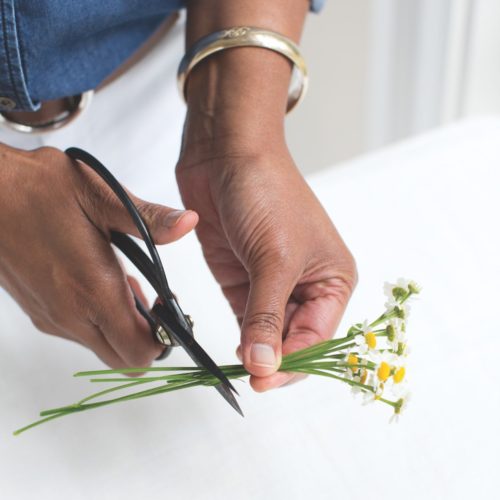
7| Remove excess foliage from the feverfew, and gather the stems to make small bundles with about 10 stems per bundle. Then, snip the bundles to make them each about 5 inches long. The feverfew doesn’t need to be wired or taped, so set the bundles aside for now.
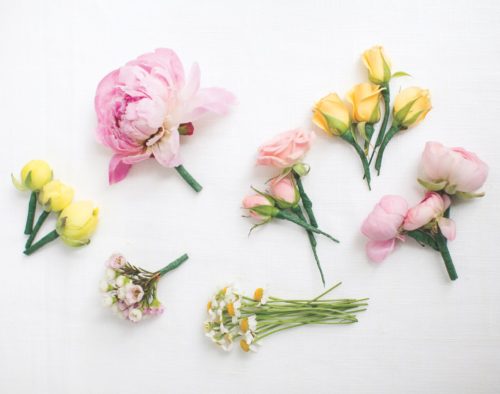
8| Now that the flowers have been prepped (except for the jasmine, which requires no prep), group them according to flower type and color.
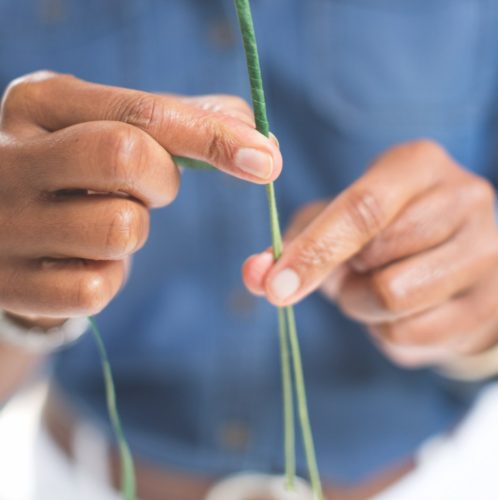
9| To make the crown’s base, take two pieces of floral cloth wire and place the first piece midway on top of the other. Then tape the two pieces together with floral tape, covering the entire wire. (I use two pieces of wire in order for the total length to measure 25 to 27 inches long.) Now bend the wire to form a circle. Next, measure the crown around the head of whoever will be wearing it—or you can always make adjustments once the crown is tried on later.
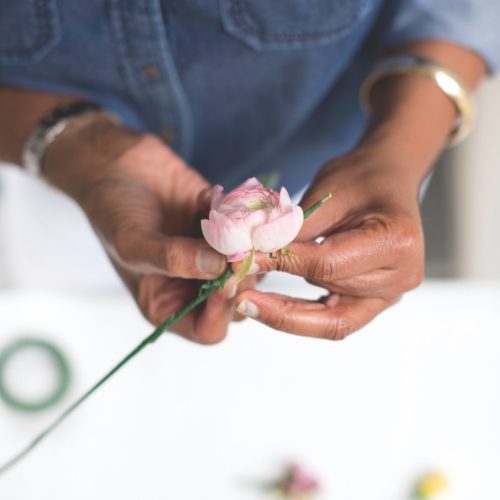
10| Now it’s time to add the prepped flowers. Starting with one of the bigger blooms—like the ranunculus— place the wired stem about an inch away from the end of the wire. (You’ll need to leave room at the ends of the crown to secure it on the person’s head and make adjustments.) Attach the stem to the wire base by wrapping it with tape about four or five times to secure it in place.
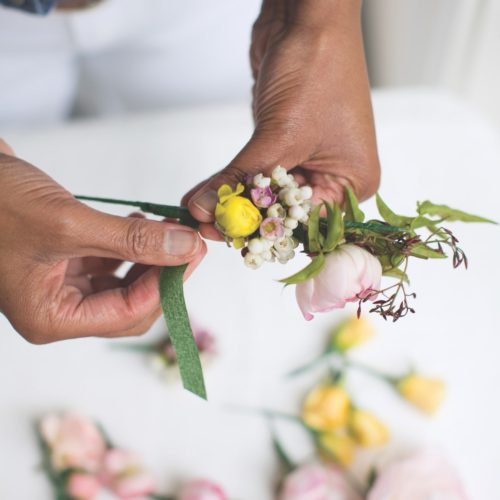
11| Continue adding the individual and bundled flowers to the base, taping them about a half-inch away from each other. After adding four or five bundles of the smaller flowers, bring in a peony as a focal point.
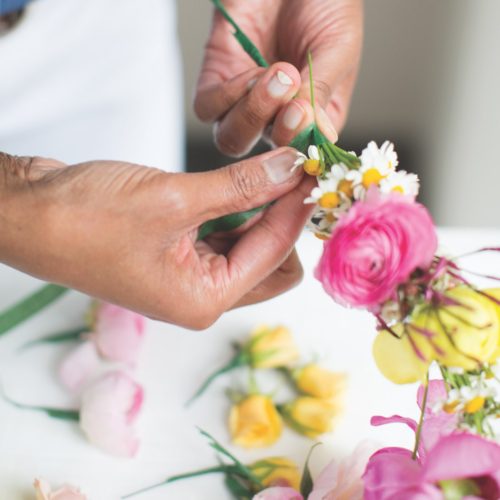
12| As you’re adding the flowers, take a look at your design and fill in any gaps with the smaller flowers like the jasmine vine or feverfew. When adding the feverfew, be sure to tape the bundles tightly to the base since the stems aren’t already taped together.
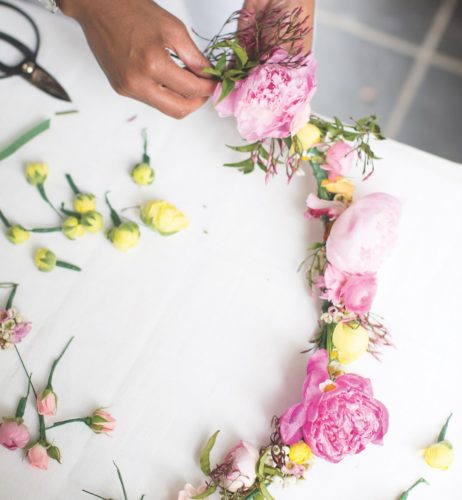
13| When adding the flowers to the base, always place them in the same direction as the other flowers to hide the stems of the previous bundles. I ended the design with a peony and some jasmine vine to show a bigger bloom in the back.
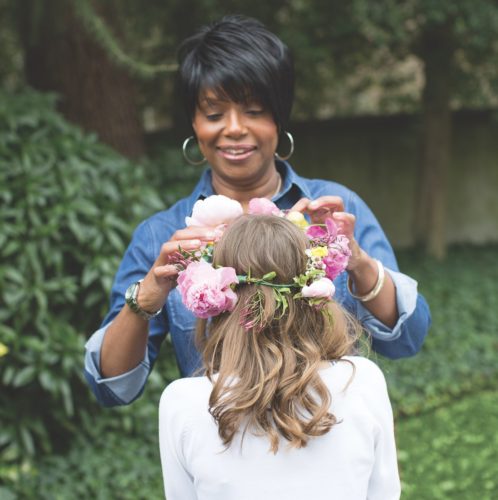
14| Place the floral crown on the person’s head, and make a small hook on the ends of the wire to hold the crown in place. Make adjustments to the look and feel of the crown so that the focal flower is where you want it. In this design, my focal flower is a slightly off-center peony.
—Janie Medley
By Janie Medley | Produced by Pamela Hanes | Photography by Patricia Lyons


